How to Check a Sample Order Before Launching a Product
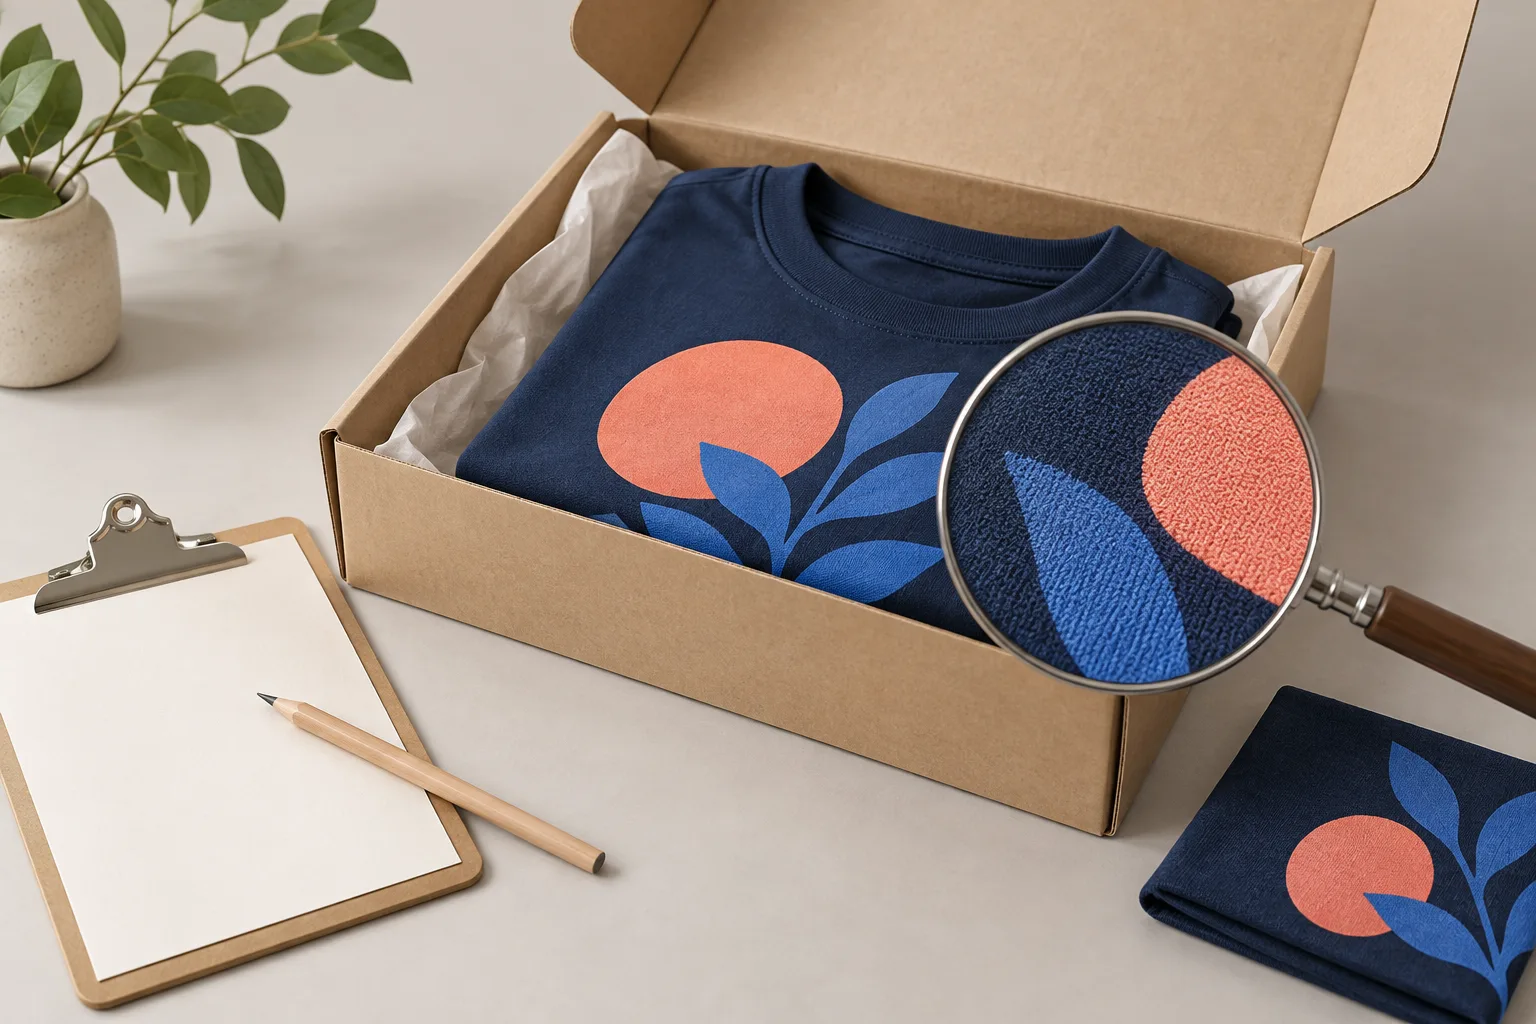
A sample order is most useful when you decide in advance what you want to learn. A quick unboxing and a glance at the design leave plenty of questions unanswered. A simple checklist helps you assess whether the product, artwork and store presentation agree, and identify what needs attention before launch.
One sample shows one specific result. It is not a statistical guarantee for every future order. Treat it as a documented basis for your decision, and check again when you change important features such as the base garment, design size or decoration method.
1. Define the test before placing the order
Choose the sample around your unanswered questions. Do you need to assess the fit of a new T-shirt, check whether small lettering is readable or see how the artwork looks on a dark colour? Write down the most important question first.
Order the combination of product, colour, size and decoration that you intend to sell. A similar item can give you an impression, but it does not replace testing the actual configuration. Keep the product identifier, filename, version, artwork dimensions and placement with the order reference.
If you have several questions, use a small test matrix. You could compare the same design on two planned garment colours, for example. Avoid changing the artwork, garment and method simultaneously if you want to understand what caused a difference in the result.
2. Record the condition when it arrives
Inspect the package and contents when you receive them. Do the item, colour, size and quantity match the order? Is the packaging visibly damaged? Are there stains, damage or other issues worth recording?
Photograph relevant observations before altering or washing the product. Take an overall view and a close-up where useful. Save the order reference in your notes, but keep personal shipping information out of any photographs you intend to publish.
Assess inserts and labels against the services you actually ordered. Record uncertainty as a question rather than assuming something has gone wrong. An expectation about how a process should work is not the same as a confirmed discrepancy.
3. Check decoration and garment separately
Place the item on a suitable surface under even light. Check the design, orientation and placement. Then inspect outlines, small lettering, filled areas and colour appearance. Compare the sample with the submitted file and configuration rather than relying solely on a vivid screen image.
Examine the underlying garment too: seams, hems, fabric surface and visible construction. For embroidery, inspect the reverse side, readability and the fabric around the design. Record each observation precisely enough that someone could understand what you noticed later.
“Looks different” is difficult to act on. “The bottom line of text is difficult to read at arm's length” or “the artwork appears tilted against the documented reference” provides a more useful basis for a correction or question. Distinguish design choices from possible production errors before deciding what to change.
4. Compare measurements and wearing experience
Measure the sample using the same method as its product-specific size guide. Follow the stated reference points and documented tolerances. Record your measurements without turning one item into a new general size chart.
Try the garment during normal movement or ask an appropriate tester to assess it. Use concrete questions. How do the shoulders and sleeves sit? Is the decorated area distracting or uncomfortable? Does the cut agree with the description you plan to publish?
A personal impression of fit remains subjective. Support it with measurements and photographs rather than presenting it as a universal statement about every customer. Keep the sample's size clearly associated with any fit notes so the context is not lost.
5. Follow the applicable care instructions
Check the care instructions for the finished product, including its decoration. Document the starting condition before conducting a wash or care test. Record the conditions you use, then assess the fully dried item again under comparable lighting.
Look for changes in shape, measurements, surface and artwork. Follow the recommended care so the test reflects a relevant everyday use case. If instructions conflict, resolve that uncertainty before proceeding. A sample test carried out at home does not replace standardised laboratory testing.
Keep before-and-after observations separate. That makes it easier to establish whether a characteristic was present on arrival or appeared during the test, and avoids relying on memory alone.
6. Make a clear release decision
Give the result one of three outcomes: suitable for the planned launch, retest after a specific change, or hold pending clarification. Add the reason and next step. This prevents an unresolved concern from disappearing into a folder of photographs.
Update the description, size guide and gallery using what you have established. For technical questions or sample concerns, use Shirtee.Cloud's contact page with the order reference and relevant photographs. Retain the configuration you checked. It gives future revisions a clear reference point and helps you prepare the next product launch with evidence rather than assumptions.