Design mug artwork: Plan handles, views and transitions
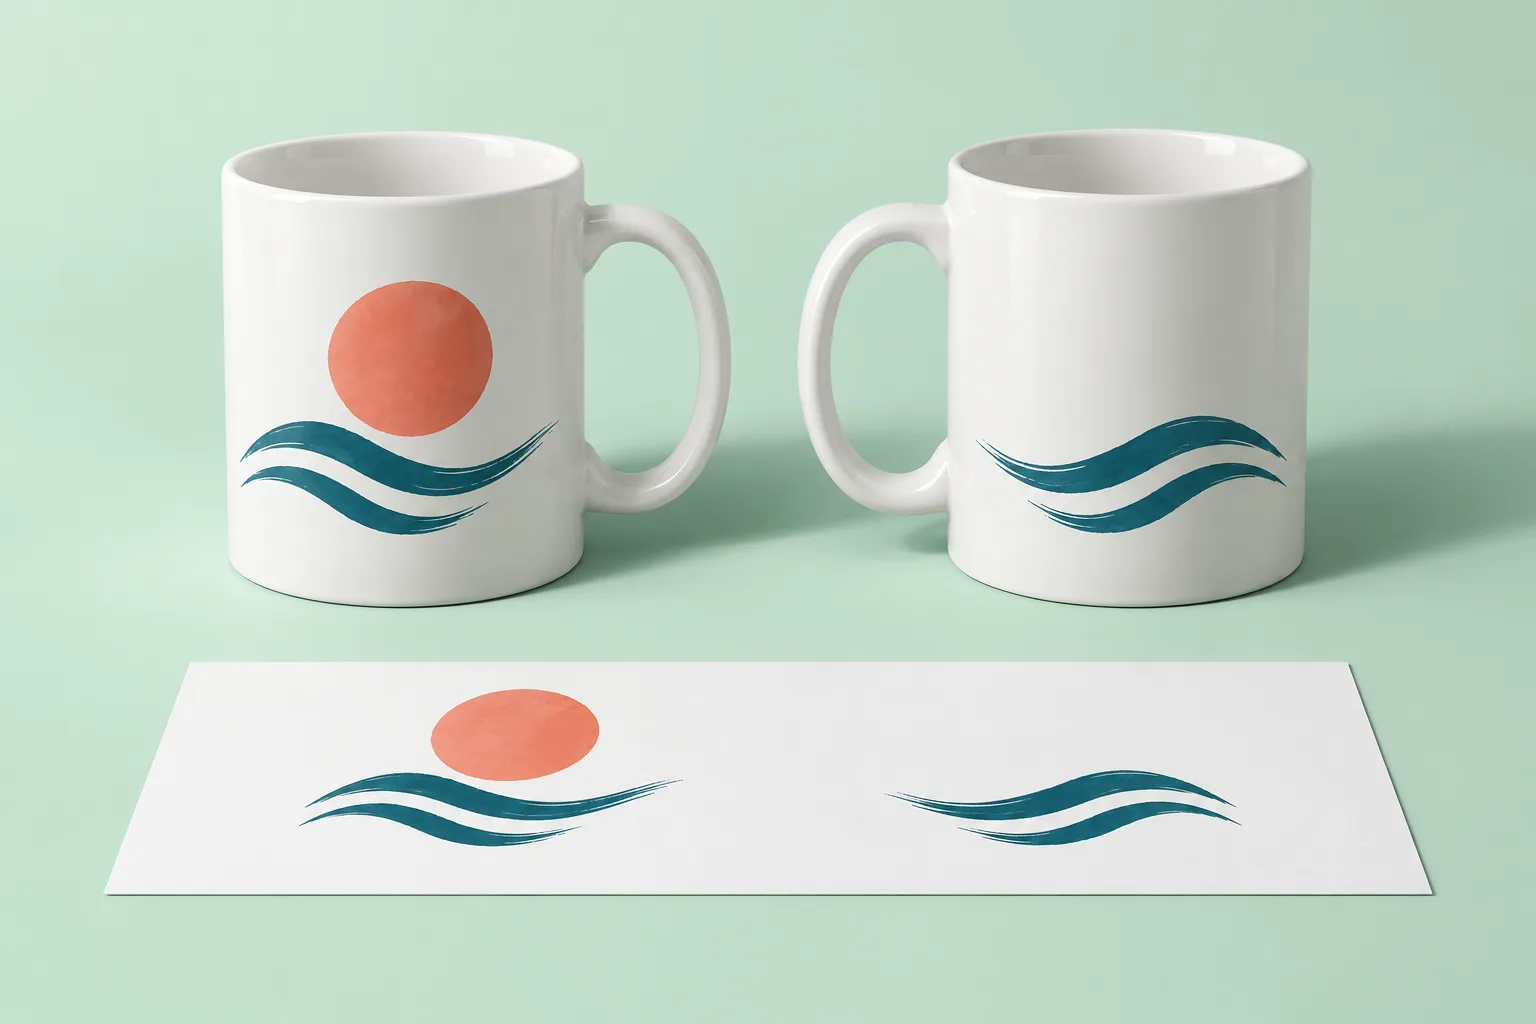
A mug design needs more than one view. Before approving the print, check what is visible with the handle on the right, with it on the left and as the mug turns. A flat file alone does not show whether the main design disappears from an important angle. Decide on the intended visual effect first, then adapt it to the confirmed template for the specific product.
A small visual story instead of a long rectangle
Our original design example uses a coral sun above two teal wave strokes. The sun is the focal point and the waves provide a quieter supporting element. There is no lettering. This lets you assess the distribution of shapes before also having to solve text legibility.
Draw the sun and waves, then draw a second view containing only waves. Deliberately decide whether the reverse should feel calm in its own right or whether both sides need the same focal point. Either approach can work. The choice depends on the views you want to show later and explain as part of the design.
This is a concept for a product category. The Shirtee.Cloud product overview lists mugs under Home & Living. That does not confirm a particular version or its current print area. To produce the design, you need the model actually available and its valid template.
Record handle position and viewing direction separately
Terms such as “front” can quickly become ambiguous on a mug. Describe your inspection views clearly from the perspective of someone looking at the mug:
| Inspection view | Visible focus in the example | Decision to check |
|---|---|---|
| Handle on the right | Sun and waves | Is the full sun visible, with enough space before the sides curve away? |
| Handle on the left | Quiet wave composition | Does the second side look deliberately designed or accidentally empty? |
| Transition while turning | Change between the two compositions | Are there distracting cut-offs or unintended gaps? |
| View towards the handle | Position of artwork ends near the handle | Are the confirmed clear areas respected? |
These are viewing descriptions, not a universal rule for left- or right-handed users. Drinking, setting the mug down and photographing it change both viewing direction and hand position. If you want to show a particular use, describe that explicitly in the image brief.
Use a paper model for the first decision
To explore the composition, wrap a paper strip around a suitable empty cylinder. Mark the imagined handle position and turn the model. The strip only demonstrates how shapes become visible in sequence. It is not a print template or evidence of a printable full wrap.
Look at the model from a little distance. Does a small rotation already hide the entire sun? Do the waves on the second side look like an accidentally cropped remnant? Change the position of one element first, then compare again. Changing size, spacing and shape together makes it harder to understand what improved the composition.
Save two versions with clear names, such as “Sun-Wave A” and “Sun-Wave B”. Record their difference in a single sentence. A traceable decision is more useful than a folder full of almost identical files with no obvious sequence.
Adapt it to the real product afterwards
Check the selected model's print template, usable areas, required file properties and clearances. Do not copy dimensions from another mug. A design that looks convincing on a straight paper model is not yet approved for a different vessel or print area.
Place the elements within the confirmed boundaries. A visible break can be part of the design. Only assume continuous wraparound production when it is confirmed for that product. The print file preparation guide helps with the technical export, but cannot replace the specific product template.
Inspect the sample from the same angles
For an actual launch, order an appropriate sample and photograph the same views used in the brief. Compare artwork position, visible clearances and transitions with the approved file. The sample inspection checklist provides a general framework for that review.
Show at least the sides that matter to your composition on the product page. An attractive photograph featuring the sun does not explain the quieter reverse. Clearly label a concept image; a visualisation does not prove an actual print result. Add claims about care, materials or use only when confirmed for the specific version.
Finally, keep four items together: the product and variant, the approved file, the view brief and the checked sample photographs. This helps another person understand the intended effect of each side and the evidence used to approve it.
AI-generated mug study of an original artwork concept; not a confirmed catalogue model, dimensionally accurate template or actual print sample.